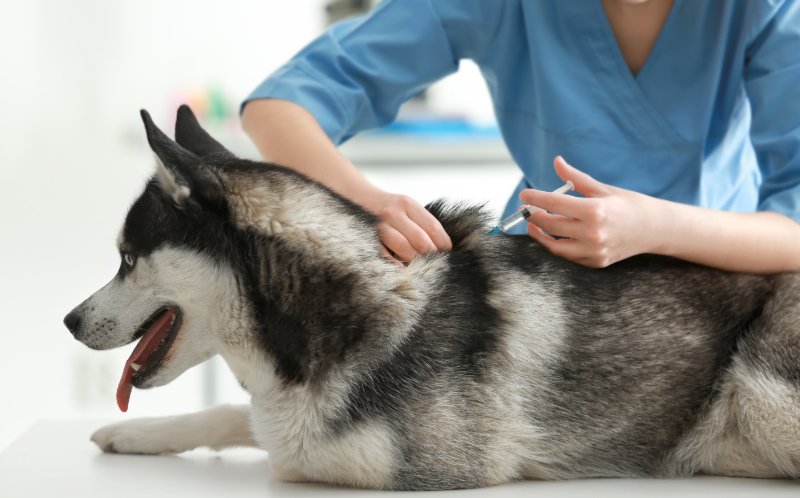
Subcutaneous fluid administration involves injecting fluids into the space under the skin (subcutaneous tissue) so it can be absorbed slowly into the body. While you may be nervous to administer sub Q fluids at first, we’re here to demonstrate how to give your dog or cat a subcutaneous injection at home.
Hey everyone. It’s Kayla from Continental Animal Wellness Center. I’m here today to show you how to administer subcutaneous fluids (sub Q fluids) at home.
Step 1: Measure the Fluids
So, first off we have our fluid bag that contain, so I’ve already pre-marked it just so I know how many I’m giving so I can give the recommended amount. It already has a line in here, and I did bleed the line. What that means is that you open everything up here and you let the water run completely out so that there’s no bubbles or air into your line.
Step 2: Give the Subcutaneous Injection to Your Dog or Cat
All right. And here I have Riley. He’s going to be our test subject today. So basically, what I’m going to do here is uncap this needle, and then when I start, I’m actually going to go over it here to Riley. And I’m going to go ahead, and while keeping this needle completely sterile, I’m going to go ahead and grab just a chunk of his fur right on the back here. And you kind of can’t see because he’s pretty fluffy, but what I’m going to do is I’m going to make a little triangle here with my hands. And then right at the base of that triangle there, you’re just going to give him a poke.
You make sure that needle is in by just pinching that; you just want it to be under the skin, not through the other side. And from there, you’ll go ahead and lift your bag all the way up. Making sure that the needle stays in, go ahead and open everything in your line completely. Go ahead and open this up. And by opening this up, you just roll that up this way. That is all the way up now. This is open. It’ll go up ahead, and you’ll go ahead and just squeeze that bag, and you’ll see that nice even streaming there. That means that that is flowing. So you want to make sure you’re doing that.
While you are squeezing the bag, you want to go ahead and check your needle and make sure that there’s no fluids coming out anywhere else. If there are fluids coming up then your needle has been either poked all the way through or has come out. You’re going ahead and just squeezing that bag until they get the recommended dosage.
Step 3: Remove the Needle
As soon as they have gotten the recommended dosage, you’re going to go ahead and close that back off. Roll that all the way down, all while leaving the needle in so that you don’t spray yourself with any of the fluids. Then, when you go ahead and pull that needle out, you’ll go ahead and put your finger just right over that to make sure that it doesn’t bleed all the fluids out of there. And then any blood or fluids that you see just dribbling out is not to be unexpected. That is completely normal.
There usually will be a larger bump right here too when you’re done. That’s just the fluids under the skin. They will disperse over time, and that’s how they are absorbed and administered. And other than that, go ahead and cap your needle and you’re all finished.
Need Help? Call Our Flagstaff Vet!
We hope you enjoyed the video and feel more confident when giving a subcutaneous injection to your dog or cat from the comfort of your home. If you have questions, call us or schedule an appointment for your furry friend. Our team at Continental Animal Wellness Center is here to help keep your pet healthy!
To learn more, check out our second video blog about Sub Q injections!

